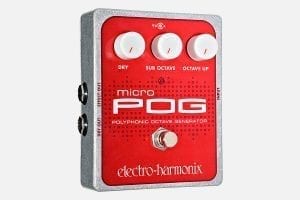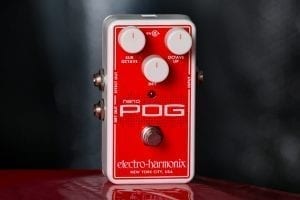
POG2
Polyphonic Octave Generator
Conjure everything from the surreal jangle of an 18-string guitar, to rich, thick walls of symphonic sound!
$400.00
Sound Clips
Organ Drawbars All Voices
Lower Octave & Upper Octave Clean
Theremin-ish
Cello Lower Octave & Sub
Distortion with All Voices
Organ Pad with Dry Mixed In
POG2
POG2
DESCRIPTION
Back in 2005, Electro-Harmonix unveiled the original POG, a polyphonic octave generator that enabled guitarists to conjure everything from the surreal jangle of an 18-string guitar, to rich, thick walls of symphonic sound. The EHX POG2 Polyphonic Octave Generator will take you even higher. Use the new attack control to fade in lush, smooth swells. Tune in the new second sub-octave to reach deeper than ever before. The 2-pole resonant low-pass filter now includes two additional Q modes. Slide in the newly enhanced detune to further refine your sound.
- True bypass
- Totally programmable 8-preset memory with instant recall four polyphonic mixable voices + your guitar
- Attack delay slider controls the fade-in speed of the octaves
- Low Pass filter with selectable Q
- Dry signal can be routed through the Attack, LP, and Detune faders
- Flawless polyphonic glitch-free tracking
- Can be daisy chained with other pedals and power supplies
- Power adapter included
SPECIFICATIONS
Circuit
Digital
Bypass
True Bypass
Audio
Mono
Power Supply
9.6VDC-200mA power adapter included
Dimensions (in)
5.75 x 4.75 x 2.5
Current Draw
160mA
Year Released
2009
UPC
683274010977
Owner's Manual
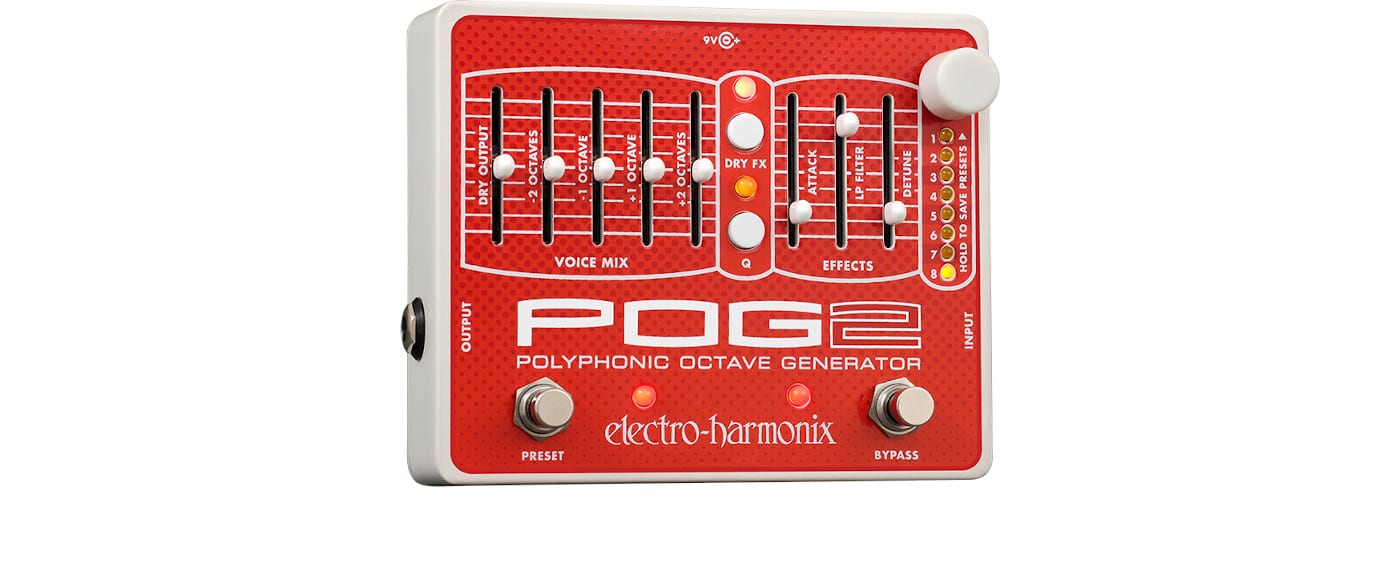
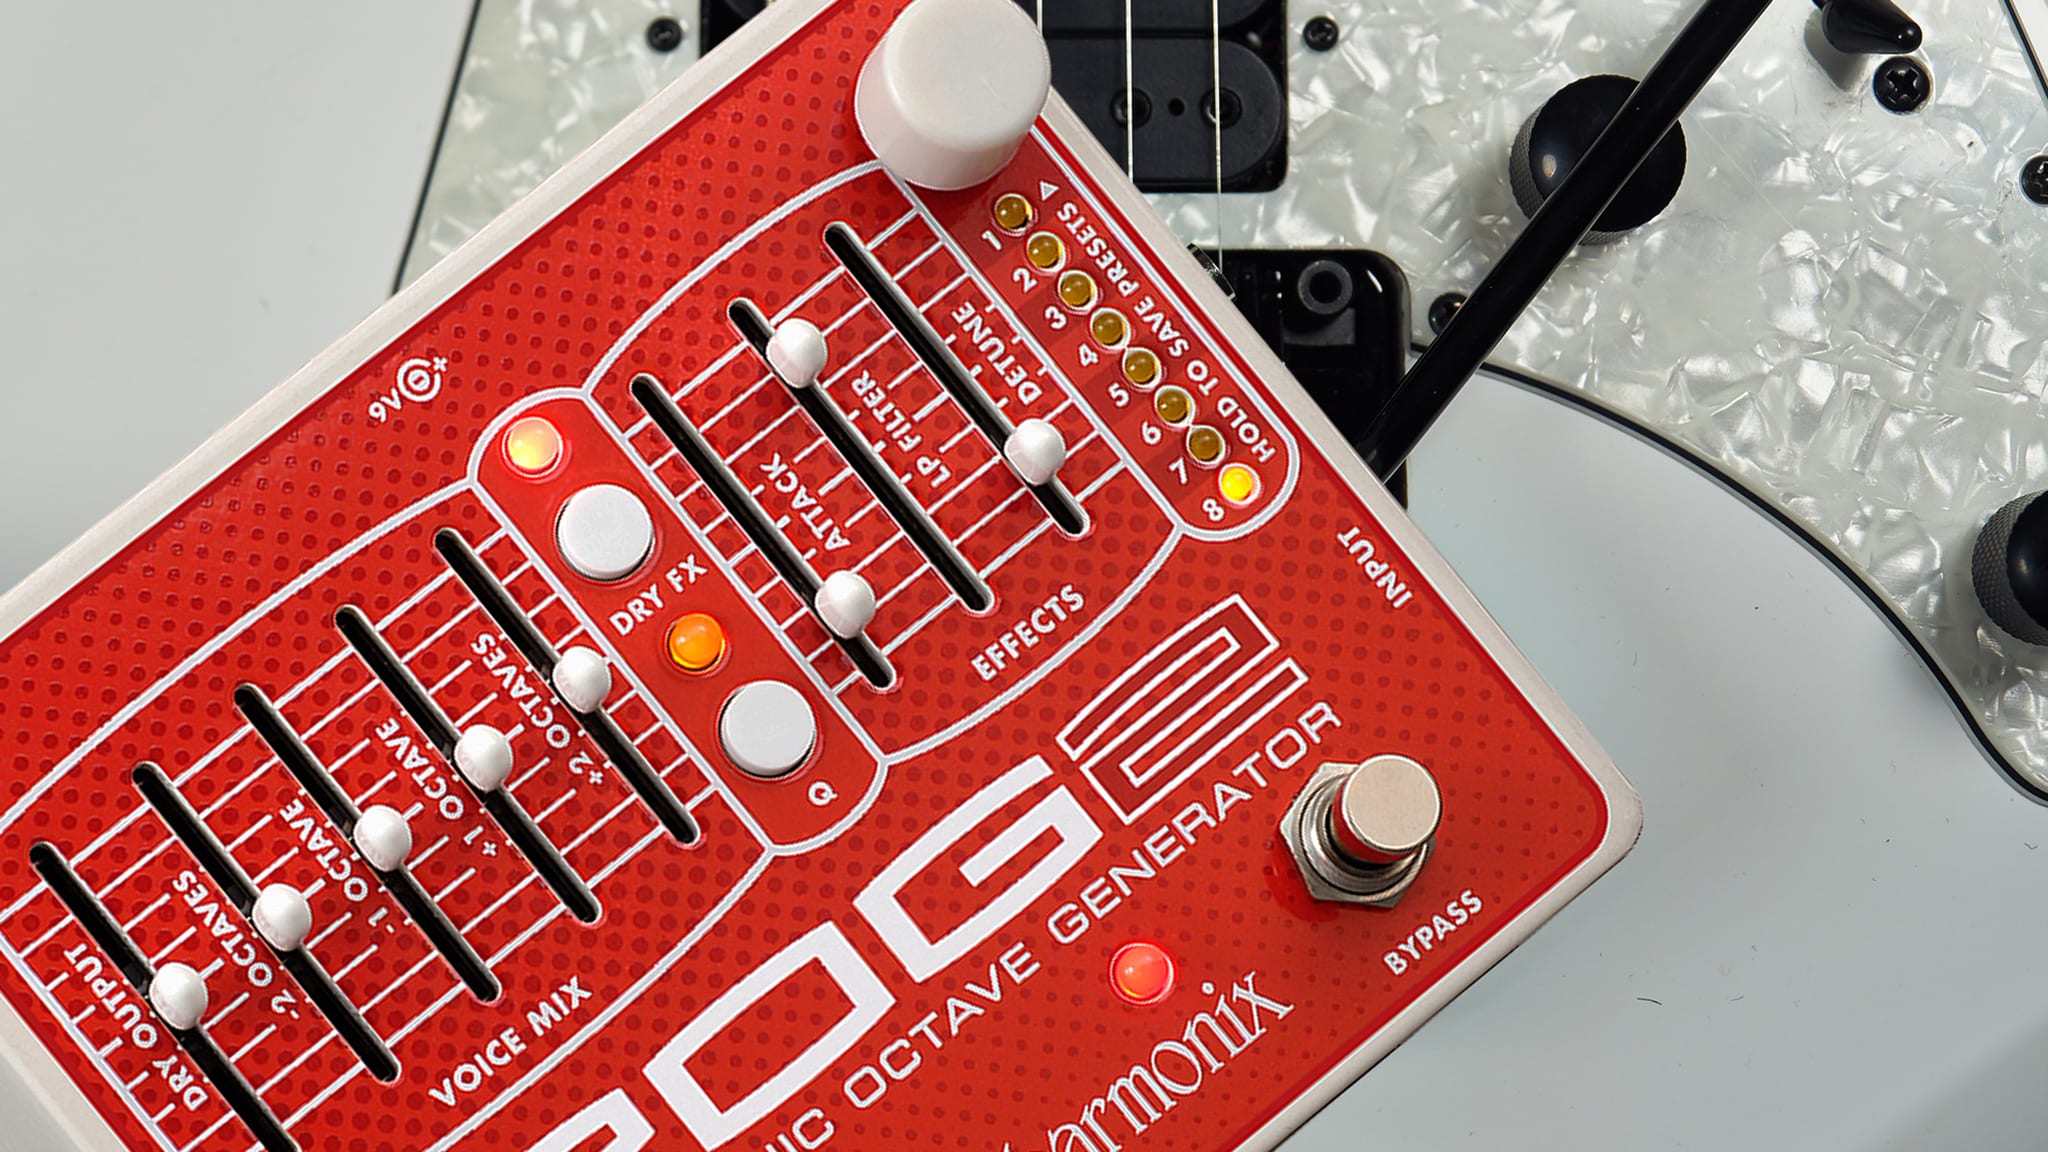
DRY OUTPUT SLIDER
Controls the output volume of your original DRY signal before it exits the POG2.-2 OCTAVES SLIDER
Controls the output volume of the signal 2 octaves below the input signal.-1 OCTAVE SLIDER
Controls the output volume of the signal 1 octave below the input signal.+1 OCTAVE SLIDER
Controls the output volume of the +1 octave signal.+2 OCTAVE SLIDER
Controls the output volume of the +2 octave signal.ATTACK SLIDER
Controls the attack envelope of all the octave voices.LP FILTER SLIDER
Controls the cutoff frequency of the Low Pass Filter.DETUNE SLIDER
Controls the amount of detune applied to the +1 and +2 OCTAVE signals.PRESET KNOB
The white PRESET knob is used to select, load and save the 8 available presets.PRESET FSW AND LED
The PRESET FSW can be used to cycle through and load the 8 available presets.BYPASS FOOTSWITCH AND LED
The BYPASS FSW is used to toggle the POG2 between effect mode and true bypass mode.DRY FX PUSH-BUTTON AND LED
Cycles through four modes allowing the DRY signal to either bypass or pass through the Attack, LP Filter and Detune effects.Q PPUSH-BUTTON AND LED
The Q button and LED cycles through four levels of resonance or Q for the Low Pass Filter.INPUT JACK
This 1/4” jack is the audio input.OUTPUT JACK
This 1/4” jack is the audio output.“You have to have a POG if you're gonna play guitar nowadays, cause you can't play guitar unless you have at least one song that has a POG on it. It's called the 'Jack White' law. You have to have a POG.”
–Jason Isbell
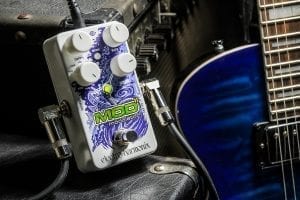
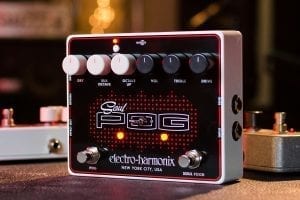
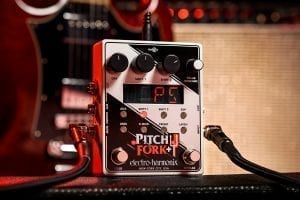
Related Gear
-

-
Sale!
-
-
Sale!
-
-
-
-